Rotobrush Tool – Basics of Rotoscoping in After Effects
Rotoscoping is a tedious task that consists of tracing and isolating objects within an image. It is tedious because matte is being created for every individual frame. Around 24-30 mattes are required to be created for rotoscoping one second of a video. Generally, the object's movements being isolated must be matched by each matte, so in the case of a ten-second scene, it will require around 250+ mattes.
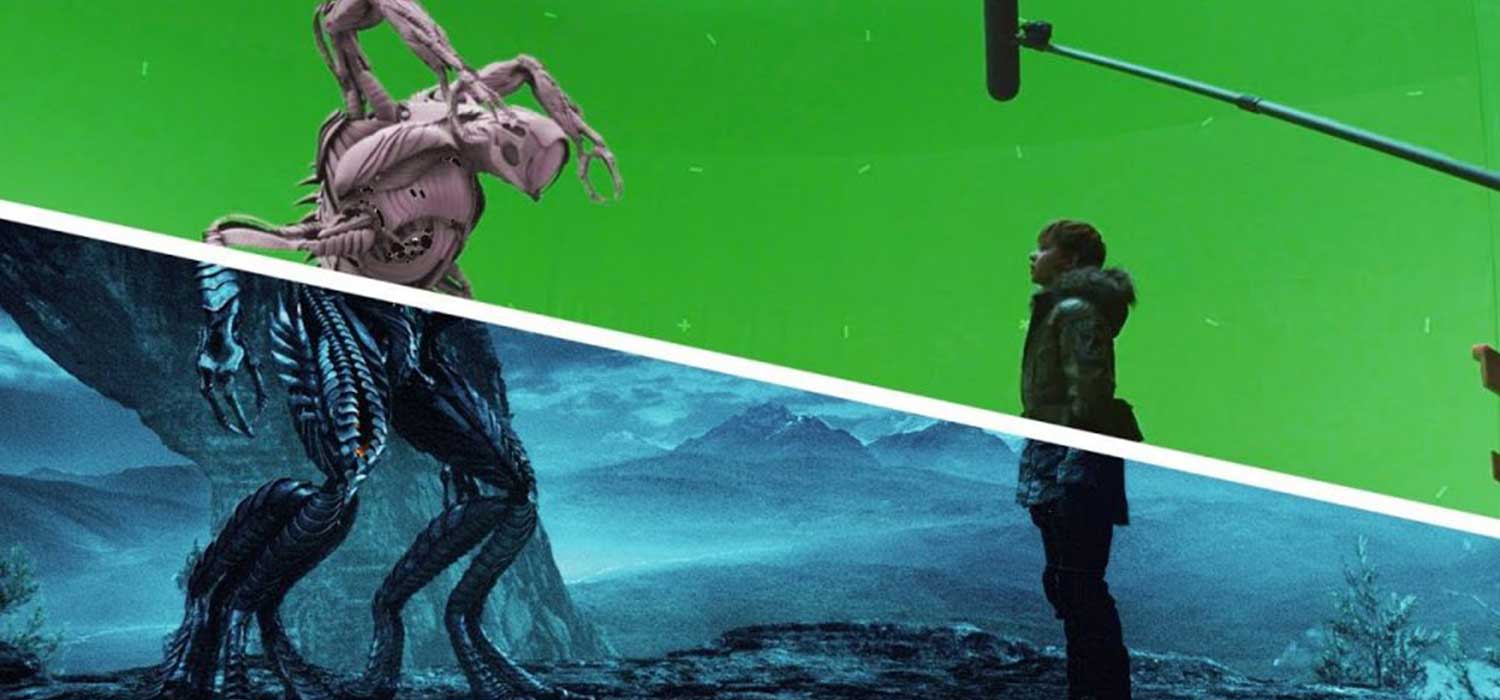
In Adobe After Effects, a tool named the Roto Brush tool helps users accomplish any roto-related job at hand. It is pretty handy and easy to use once you get the basics of generating visual effects. It is similar to the quick selection tool in Adobe Photoshop; the plus point of using rotoscoping is that it helps users edit many images and not just one. It also helps users cut an element out of a video clip, which helps specific editing requirements.
The roto brush is not the most user-friendly tool, and it might be challenging for some users to understand the plethora of options that it brings along but once adapted, the roto brush tool helps to do wonders.
How to use Roto Brush Tool in After Effects?
To rotoscope an image, the user needs to open up a layer in the Layer panel; selecting the roto brush tool hereon, the user must Cmd/Ctrl-click and drag up or down in order to resize the brush tip. After the user is done with this much, the user must brush over an area of the image to select it.
The drag option can be further used to deselect certain areas from the selection as mentioned above. The user can now use the Refine Edge tool (Option+W) to paint over any complex edges, which are generally hard to edit, such as a strand of hair or minor details of an image.
After the first selection is completed, it will work as the base frame. Now, in the layer panel, the user will find some controls at the bottom. There will be a grey area near the cursor and the time ruler; this is the span. It will expand to and fro from the base frame. The user needs to work on the image frame by frame, working outward from the base frame. The span can be expanded to cover a larger area of the work area, and multiple base frames are addable with required corresponding spans.
In the next step, the Page Up and Page Down options will be used to move a frame at a time. According to the frame, it might be necessary to make required adjustments with the roto brush depending on the particular frame's need. It must be noted that low contrast areas or blurred areas will be comparatively more difficult to be edited with a roto brush. As said, Rotoscoping is a tedious
process, even while using a super handy roto brush, as it requires adapting the whole process to perform the actions efficiently and up to the desired criteria.
Adobe After Effects provides several view options in order to help users with the selection. The alpha can be viewed as black and white, can be viewed as a boundary or an overlay. An X-ray view of the edge selections is also available. After the roto job is all done, the user should press the freeze button to ensure that nothing changes by accident in the future. The Effect Controls panel can be further used to make adjustments to the Roto as and when needed. Once the Roto is all done and complete, the user can check the composition panel's result.
Detailed Steps to use Roto Brush
- 1) Assure that the resolution and fast preview options are set to the highest quality.
- 2) Double-click the video layer in the Timeline panel to open it in the Layer panel after that.
- 3) From the Tools Panel, select the Roto Brush tool.
- 4) Select inside the object that needs to be isolated.
- 5) To set the duration of the Roto Brush, change the duration of the span.
- 6) Press Alt (Windows) or Options (macOS) and paint over selection areas to deselect them.
- 7) To start and stop analysis, press the Spacebar and make changes needed to the selection.
- 8) To fine-tune the selection, adjust the Roto Brush Matte options in the Effect Controls panel.
When to Use Roto Tool in After Effects?
Roto can be used for numerous purposes, like the user can duplicate the layer and then delete the roto effect from the bottom layer, creating a separated background, which will allow the user to edit the foreground separately of the background, which introduces a lot of different ways.
Beginners can use this method to place text between elements on the screen for simple editing requirements; it can be used to brighten or darken the background or foreground, create a fake depth of field, clone objects or people any other idea that the user wants to implement.
The roto brush is an essential tool for editing videos as it allows so much control and options to play with and make so many changes according to the user's wish.
Maya Academy of Advanced Cinematics is one of the leading animation training institutes in Bhubaneswar, Odisha to design courses in Rotobrush. Shortly after the establishment in 2001, it has been applauded for producing an enormous number of animation professionals in Bhubaneswar, Odisha.
Within a brief period, it has expanded into 80+ academic centres across India and the Middle East. Through its vast network of centres, MAAC has successfully prepared thousands of students for animation and filmmaking careers. MAAC is part of Aptech, the global retail & corporate training solutions provider headquartered in Mumbai, India, with a presence across five continents.
As a part of the Maya Academy of Advanced Cinematics, MAAC Bhubaneswar is an Autodesk-certified training centre. MAAC deploys world-class teaching methods, backed by a brilliant faculty that fosters creativity and an artistic mindset that paves the student's path of success. The path that leads to every field becomes bright and hassle-free as the course is made up in such a way. For coming up with bright colours and a future, this is the right place to complete your course from.